After 25 years of drying clothes and constant clogging with lint, it became apparent to Sharon and I that it was time to replace the old plastic accordion type dryer vent pipe with something more safe and durable. Our dryer had started overheating and turning itself off to keep from starting a fire, all due to a clogged vent pipe. A couple of years ago we paid a local home repair company about $500 to unclog the old pipe. They managed to punch holes in the old plastic pipe and could not clean out the whole length because of turns around corners. This time we decided to fix the problem properly. We hired a local general contractor to coordinate a week long renovation project.
Here are some pictures from our project.
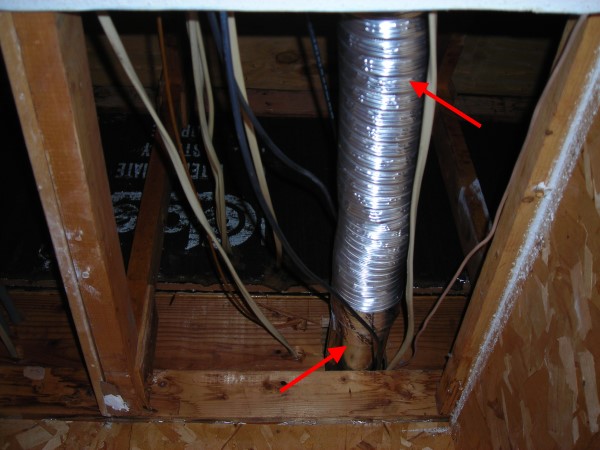
Day 1: On Day 1 of this project the general contractor and HVAC contractor met at our townhouse around 10:30 AM. This was our second meeting to discuss strategy. It was decided that we would remove the old plastic dryer vent pipe and attempt to run new 4″ rigid galvanized metal pipe in the same path. We were not sure what we would run into. We knew that removing or cutting the kitchen ceiling was the last thing we wanted to do. Our Plan B was to cut a path through the top of our kitchen cabinets for the four inch pipe. Plan B would take much longer and create a big mess. Fortunately, in about three and half hours, the new pipe was installed in the same path as the old pipe, with a minimum amount of cutting into our drywall. Most of the work was done in our utility/laundry room off of the kitchen:


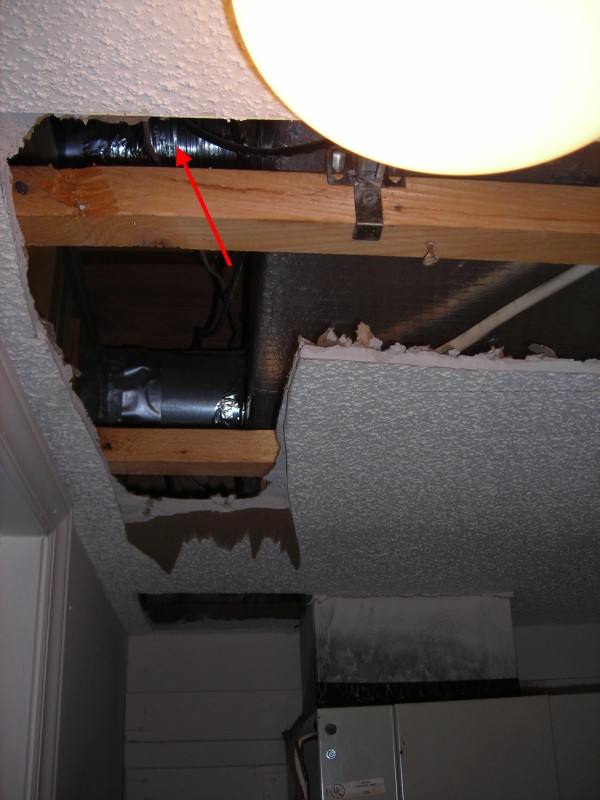
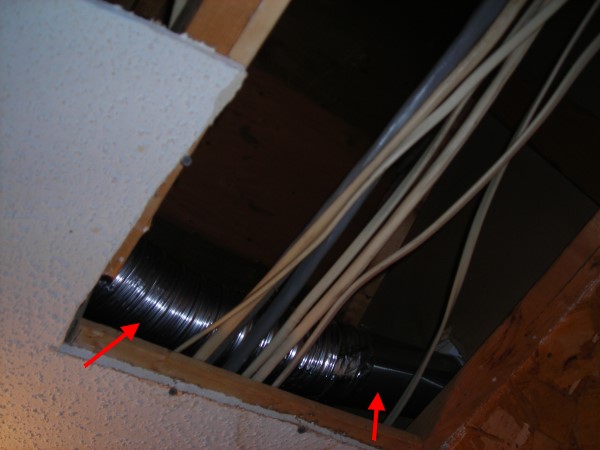
Here the new dryer vent pipe lays between two eight inch floor joyces across the kitchen ceiling and comes into the store room off of our porch/sun room. It then turns to the outside vent:
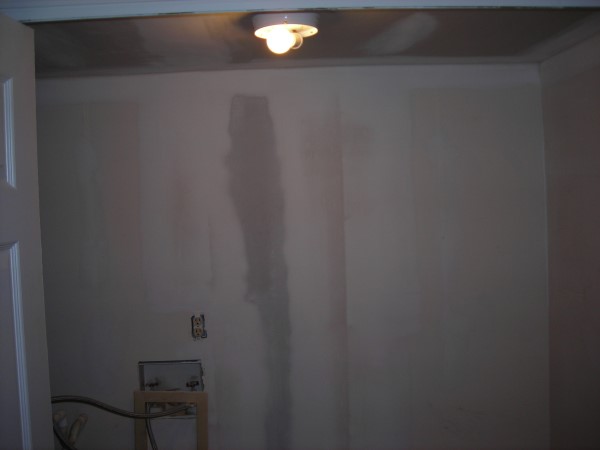
Day 2: The drywall contractor came on Day 2 of the project. It took about six to seven hours to replace the drywall, mainly due to waiting for the mud to dry for sanding:


In the store room we decided to just screw in a panel of drywall to close the hole, no need to tape and mud:

Day 3: On Day 3 the paint contractor came by and spent about two hours putting on two coats of wall paint in the utility/laundry room.
Day 4: Sharon and I mounted two new wire shelves for pantry storage and reattached the washer and dryer:
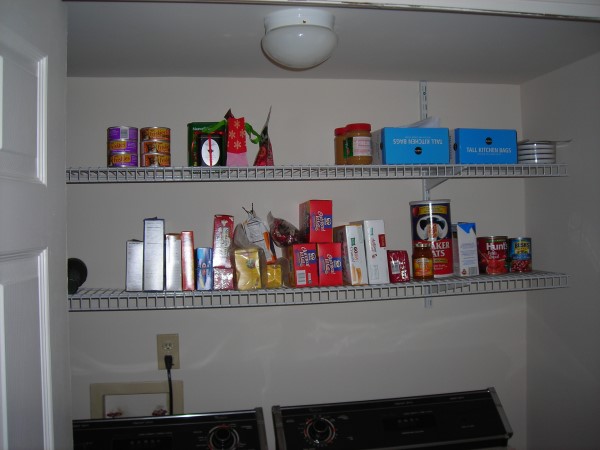

After a week of hard work, the utility/laundry room is back to normal and the dryer vent pipe is perfect. Our dryer has never worked so well. Now we do not have to worry about a fire hazard and our dryer can dry clothes faster than ever.